

During these difficult times, people are still hopefully trying to maintain their dignity with a little personal grooming. It may be hard, especially if you are one of those that usually goes to a hairdresser or beauty salon to get treatments done professionally, but thankfully, we still have supermarkets and chemists that have aisles full of hair and beauty products. There is of course the internet also for ordering items, or often you can use things at home as an alternative home preparation.
Following on from my previous article, here are some more treatments I thought may be of help to do like a professional would do so; with a little guidance, they can be done to a satisfactory level at home.
Fringe/Bangs Hair Cut
Cutting a fringe, or bangs as sometimes known, seems simple enough but can look really awful if done incorrectly without good, clear instruction, and obviously, this will be something that will need attending to in order to have good eye vision and see through comfortably without annoyance.
If you choose to do this whilst wet, bear in mind that the hair is a third longer when wet and will shrink up when dry, so you will have to allow for this when cutting. It will shrink and appear to dry up, even more so if you cut tight curly hair.
- Using a pair of hairdressing scissors and straight flat barber comb and holding a section of the hair you want to be shorter between your fingers, cut at the centre of your nose area, just below eyebrow level.
- Next, take a little of the previous section you have just cut with some of the side section of fringe hair so you can see this cut section and use it as a guideline to follow line with. Cut the uncut section at an angle downwards of eyebrow and just below brow level, again tapering towards ear side, temple. Always take a little section of previous cut hair section and add to new uncut section. Do this on both sides until it resembles a sad face smile line, facing down or half-moon, tips downward.
Make sure hair is fully wet and not half wet/dry or you will have an uneven result. It is better to do this twice over if not short enough the first time, rather than too short the first time round. You can take more off but can’t add hair back on.
Eyebrow Shaping
Eyebrows frame our face and are naturally also there to order to protect our eyes from water or anything running straight into them. It is for this reason that they definitely should not be overplucked, waxed or shaved off. Keeping them in order and in a nice shape yourself may appear difficult but following one of the correct methods should hopefully give you at least a basic, tidy shape.
Add some warm water to cotton wool pads or a sterilized flannel, hold onto eyebrow area to open the pores, or as an ideal time, do straight after the shower or bath.
- Using a long orange wood stick or thin pencil, hold it from inner corner of eye to corner of nose. Any hair beyond this angle in centre area above nose can be plucked or removed.
- Next, holding pencil at the outer corner of the eye and the corner of the nose should give a clear line visible of any hair beyond this line. You can then remove any hair beyond this line on the outer corner.
- Now using the orange wood stick or pencil, hold it in front of your eye and keep in line with your eye’s pupil as you look straight ahead. This should be the highest point of brow, so bare this in mind as you pluck or remove any hairs below and around this area.
If you use tweezers, keep them clean by constantly wiping them with a clean damp tissue or cotton wool pad or they will not pick up hair effectively.
When you have finished removing any hair, apply a little antiseptic cream and leave for approximately five hours to settle and to close pores in order to avoid infection.
Hair Removal/Depilation
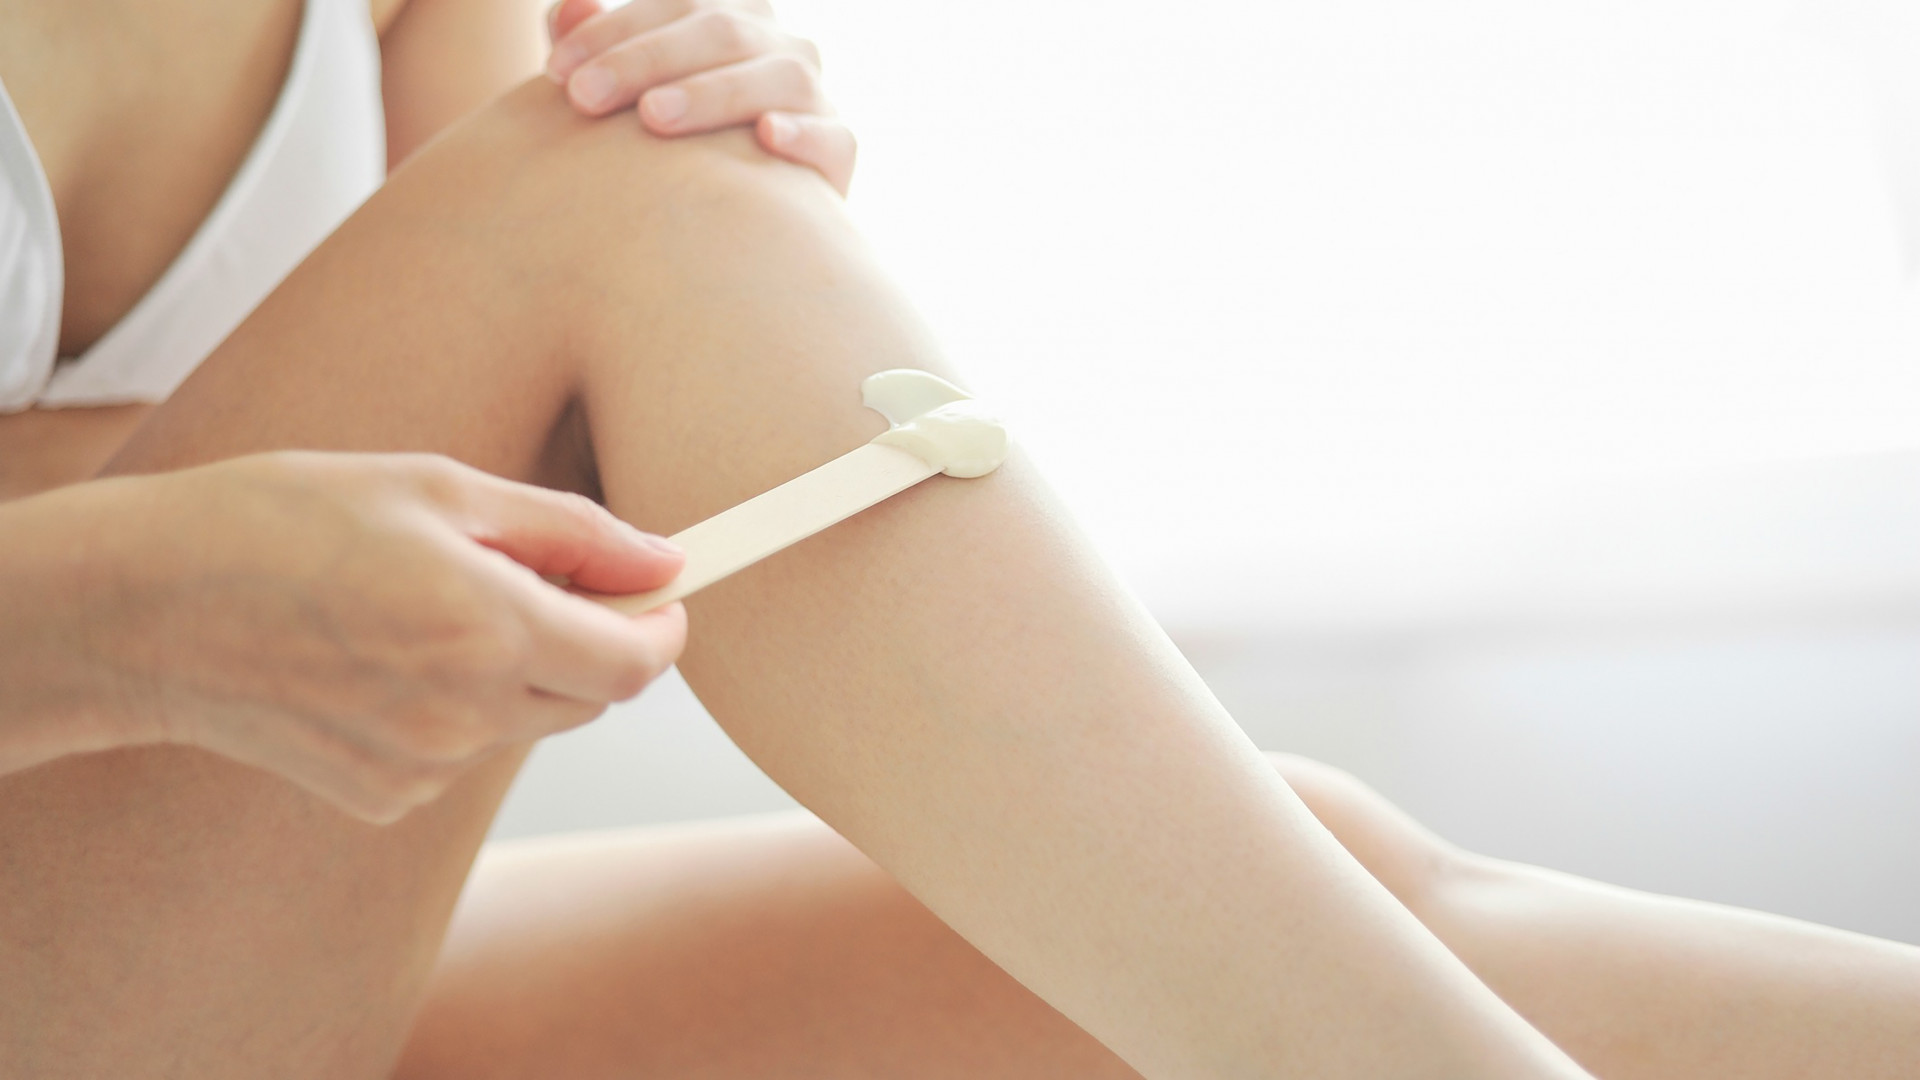
Removing unwanted hair may not now be as easy if you went regularly for waxing. You can of course try at home with some home kits that can be bought at stores and chemists.
- Hair and skin needs to be clean and dry for effective removal of hair. Using talc or alternative cornflour talc substitute powder on skin can help the hair adhere to wax and prevent skin being dry and flaky after process.
- Apply melted wax in the direction of hair growth. Apply paper or fabric strips on top and pull against the direction of hair growth, quickly backwards to remove the hair.
Hot wax, when melted down, quickly dries to a hard yet flexible texture. The hairs dry within it and can be pulled off without any other tool and without fabric or paper strip required. It is ideal for any superfluous hair on face, underarm or bikini line area.
Cold wax is warmed up in a pot or a roller block container but can also be placed in microwave or stood up in hot water if there is no microwave available. This needs paper or fabric strips to be applied on top of the melted wax to pull off and remove hairs. It does not dry back to a hard texture like the hot wax does. This wax is ideal for larger areas like legs.
Do it like a professional!
Love and Sparkles
Samsara x