
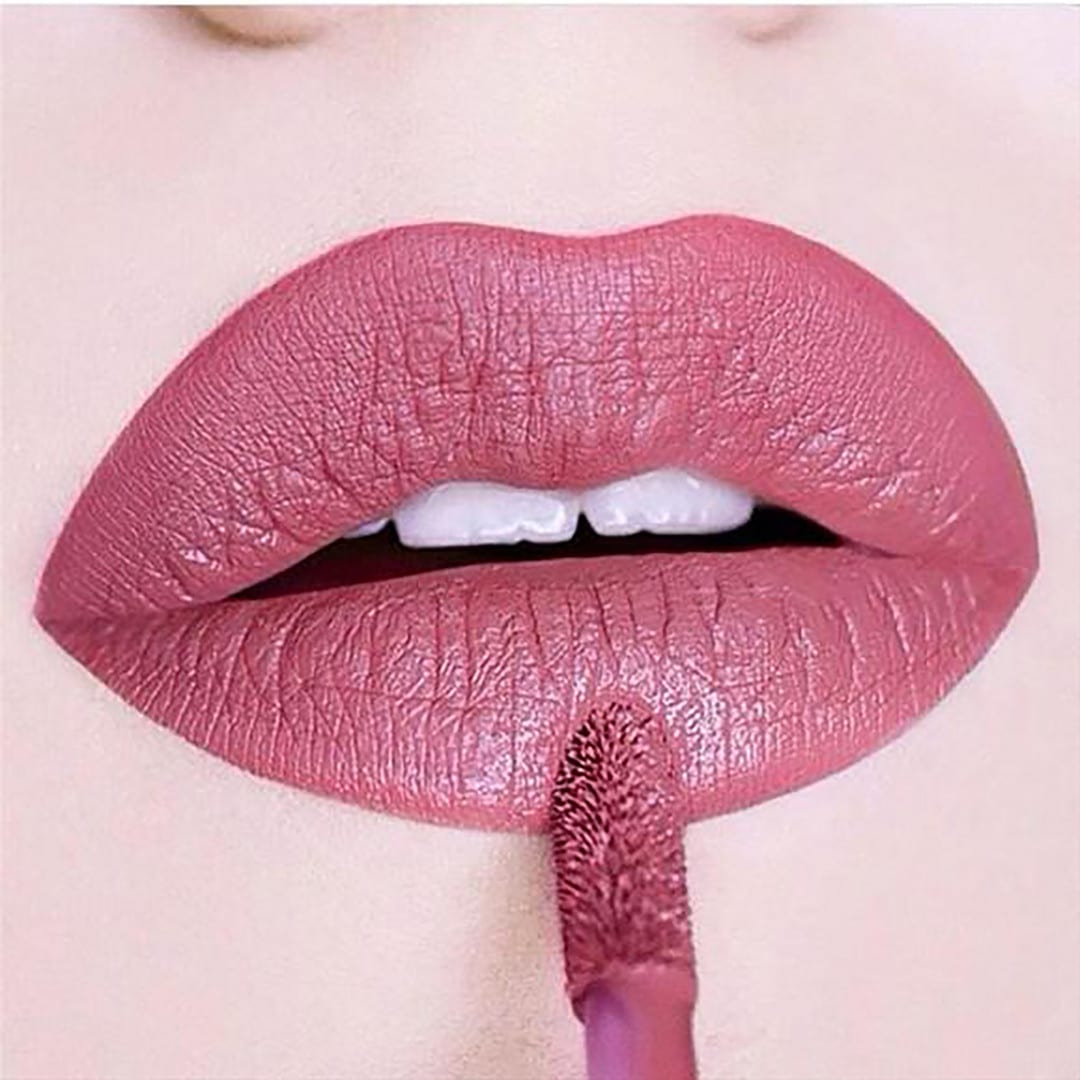

I have been asked a few times whether I have had my lips done, and since I haven’t had anything done at all, I felt quite insulted, yet on the other hand, in a twisted way, I took it as a compliment to my good lip work with make-up artistry, which has given my lips such a full effect to trigger those thoughts in others. So it instigated this week’s subject of Getting Lippy.
Here are my top tips to hot lips!
Regularly exfoliate! You can do this at the same time when you exfoliate your face and on a weekly Basis. It is simple to do, purely by using an exfoliating cream or adding some sugar granules to your regular cleansing lotion. Work in small circular motions around the lip area, using an exfoliating glove, mitt, cloth or fingertips on a face cloth. Remove by washing off with warm water and pat dry gently.
After you have cleansed, toned and moisturised the facial area, including the lip area, allow moisturiser to absorb into the skin thoroughly before you start any lip work. If lips are too oily with creams and lotions, make up products will not settle and hold.
Step 1 – For daytime, use a colour that closely resembles your own lip colour but just a slight shade darker. These are usually mocha shades of browns, neutral pinks or subtle plum shades. For evening, use your vibrant shades of colour, be it reds, plums or pinks.
Start with a really good lip liner. I personally find the ones that look like felt tip marker pens work best. They work well for quick application and tend to hold and last. There are some good ones like Stargazer semi-permanent lip liner pen, Gosh or Collection which are easier to apply. Another option, if you are quite creative and steady with your artwork, is to use a liquid lipstick like that of Max Factor. They tend to have a lip wand or brush for application and the lipstick dries rather than sitting on the surface like a traditional oil based lipstick.
Apply to outer lip line area, working to create a full rounded plump lip shape. You may have to lean slightly on the inside or outside on either top or lower lip to create your desired shape. Draw a thick line as this will help the illusion as back drop for next stage.
Step 2 – Apply a lipstick shade resembling the liner shade you have used, but a little lighter. Again liquid lipsticks work best to get the holding power. As the liquid lipstick comes complete with a wand or brush that sits in its own container, you should find it easy to apply and work with. Start to fill in the colour within the lined area and blend a little into the lip liner without going over the line. Do not bring the liner colour to centre lip area.
Step 3 – When liquid lipstick is dry, use a traditional oil based lipstick to add colour and moisture at the same time. The colour should be a close resemblance to the liquid lipstick. This will just sit on top of the underlying liquid base canvas work that will give the illusion of shade, tone and depth.
Step 4 – Add a highlighter lipstick or cream highlighter and just dab to centre of the lips. This can be done with your fingertip. It should bring out the lip, creating a pouted look, like the centre stage highlighted prominent area. If you have naturally small lips, use it a little further outwards to create a more prominent look.
Step 5 – Finally, and this is optional, if you prefer the glossy look, use a super shine gloss. This will also help illuminate the highlighted lip area.
Now you have the perfect pout, get smiling!
Love and Sparkles
Samsara x